WordPress is a fast and highly effective platform for hosting a REST API for a variety of use cases, especially if your API endpoints serve content like images or filterable, categorized blocks of text. This step-by-step guide demonstrates how to implement a production-ready REST API in only a few hours, and with no custom coding required.

Summary
“Why build a REST API with WordPress?” great question! Even though my own vanity and technology stack preferences tend towards, well, any other option besides WordPress, I nonetheless recognize that it is a pragmatic and robust solution for many use cases. A WordPress REST API implementation is best explained by way of example, and as it happens, I implemented a REST API for my ReactJS-based personal web site in mid-summer of 2020 and I’m quite satisfied with it in terms of usability, customizability, performance, reliability, cost, and maintainability. Incidentally, I’ve since come to realize that a WordPress-based REST API is also horizontally scalable, even more so than a typical WordPress web site.
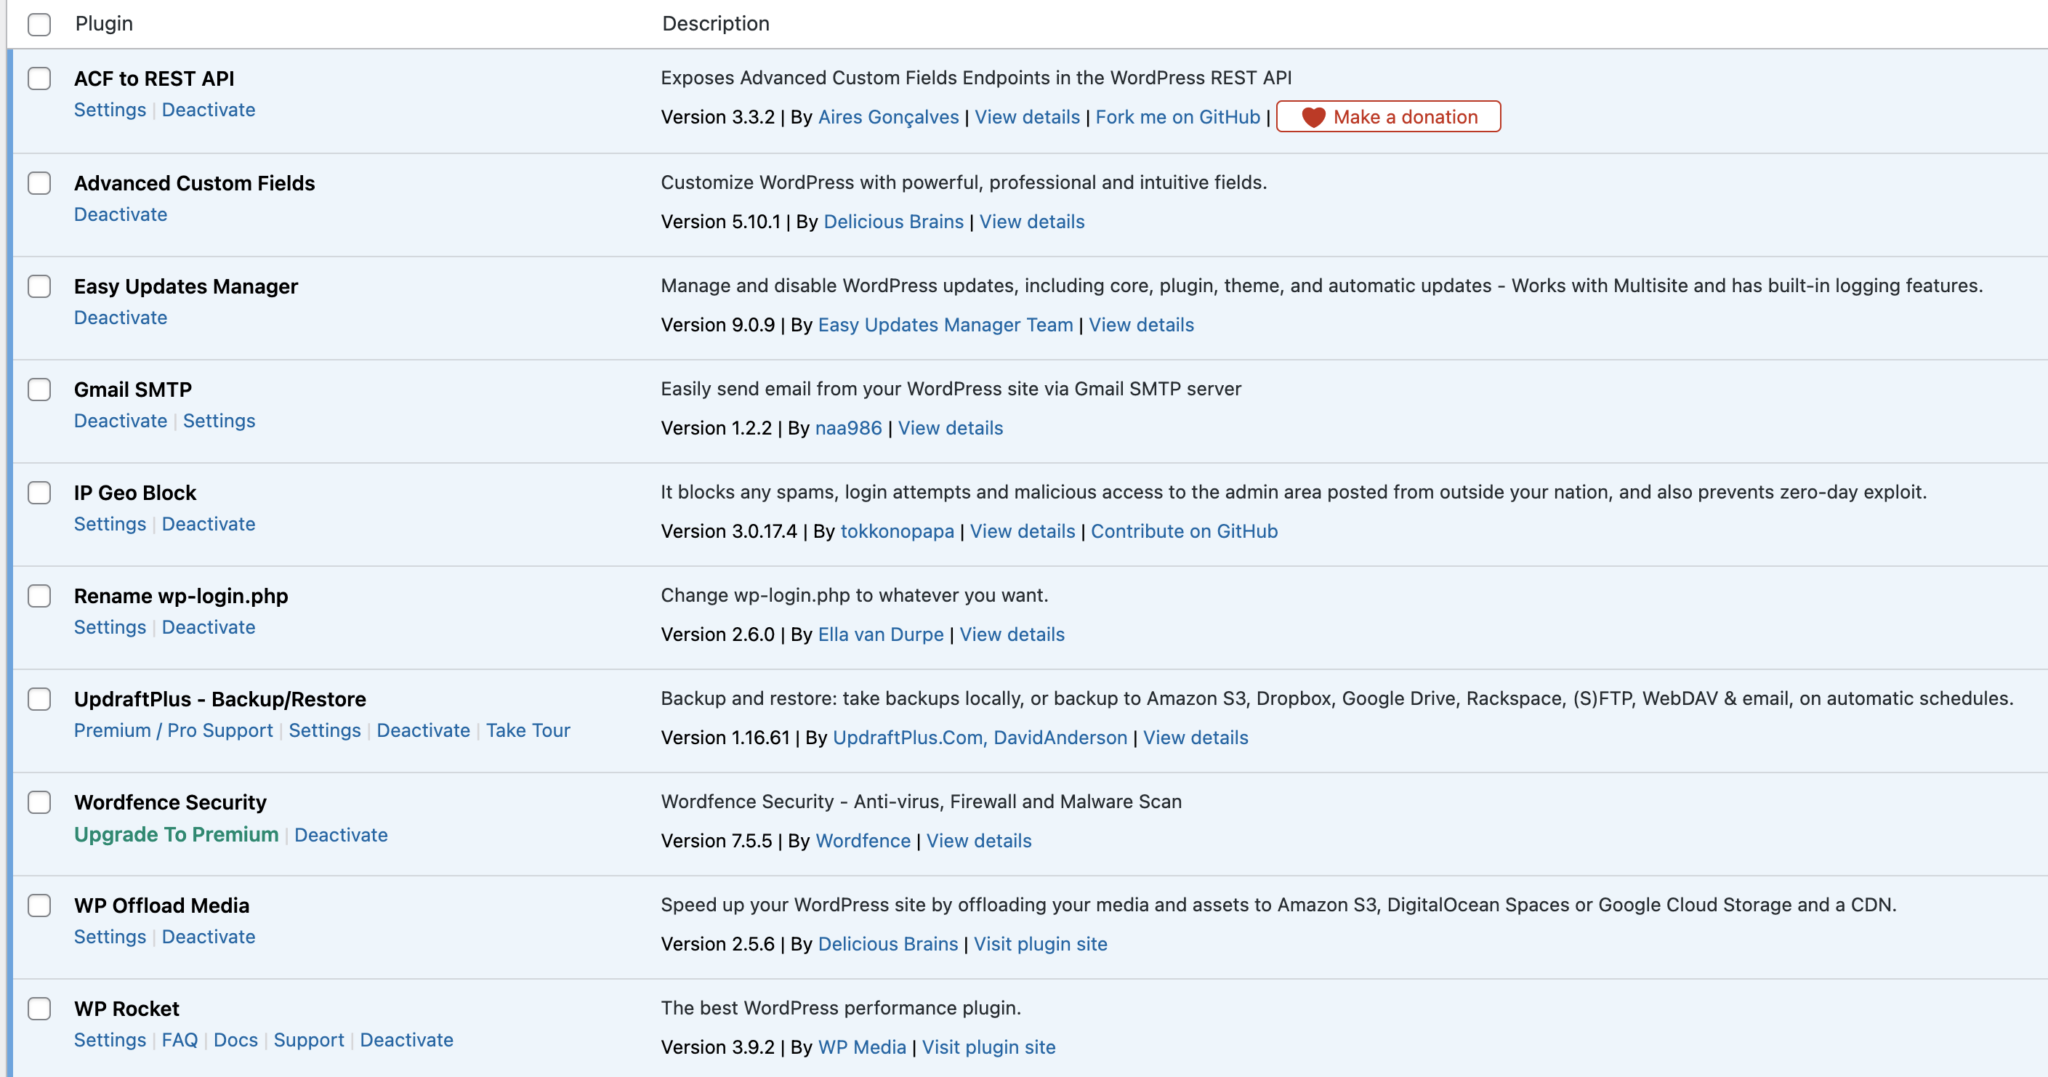
The WordPress build itself is surprisingly simple. No custom PHP programming is required. You can refer to this blog article, “Step by Step Guide to Setup WordPress on Amazon EC2 (AWS) Linux Instance“, for step-by-step instructions on creating a basic WordPress site on Ubuntu Linux. Since version 5.0, WordPress includes a full-featured REST API with a complete set of endpoints for managing WordPress posts, pages and media. However, you can greatly enhance these built-in capabilities with a pair of free WordPress plugins: Advanced Custom Fields, (or Advanced Custom Fields PRO if you use an Avada Theme) and ACF to REST API. This in a nutshell is the basic installation that is needed in order to implement full-featured REST API basic entity-relationships, but in the interest of being thorough, following is the complete set of WordPress Plugins that I am using on the site.

You can inspect the following endpoints from my production REST API to get an idea of the breadth and sophistication that is achievable from a REST API implemented with nothing more than WordPress and these two plugins:
| Example production end points | |
|---|---|
| Portfolio | Specialties |
| Clients | Filtered Clients Example |
| Recommendations | Academic Credentials |
Why I Built My REST API With WordPress
Prior to deciding on WordPress I evaluated several alternatives including Django REST Framework, NodeJS, AWS API Gateway, and Ruby on Rails. Each of these alternatives are fine technologies, and in point of fact I do spend considerable time working with some of them. Importantly, WordPress offers excellent infrastructure for basic text and media content management simply by virtue of its maturity, expansive ecosystem and its rich catalogue of mostly-free plugins. As of Aug-2021 around 455 million web sites on the Internet were running on WordPress. This was a major consideration in my case due to the extensive use of still images on my personal web site as well as the simple structures of the site’s text content.
Conversely, the achilles’ heel with most of these alternatives regards their comparative shortcomings related to basic content management. Secondarily, I think all of these alternatives are comparatively more complicated to use for modeling a basic API endpoint. Thus, it would have taken me more time and effort to achieve, at best, the same end result with any of these competing alternatives. Lastly, and speaking from first-hand experience, managing any of these other technologies in a production environment where you need to consider data backups, scaling, security and code updates is more complicated and usually more maintenance intensive.
A more thorough, prioritized explanation of my selection criteria follows.
1. Superior Image content management Tools
I wanted a REST API solution that seamlessly integrates with a professional-quality image content management system. Simple and effective image management is extremely important to me. My personal web site contains more than 500 images, and all of these need to be individually compressed, optimized and cropped based on how they are presented on each page which frankly, is pretty arbitrary. Site visitors’ attention instinctively flows towards the site’s images, so these need to be quickly and efficiently delivered to the browser and well-presented, which is more technically difficult and tedious to achieve than it might seem. Furthermore, image optimization itself is notoriously difficult to do well, and I would lose dozens of hours a month on this one mundane task if not for the professional quality image tools that are available in the WordPress ecosystem.
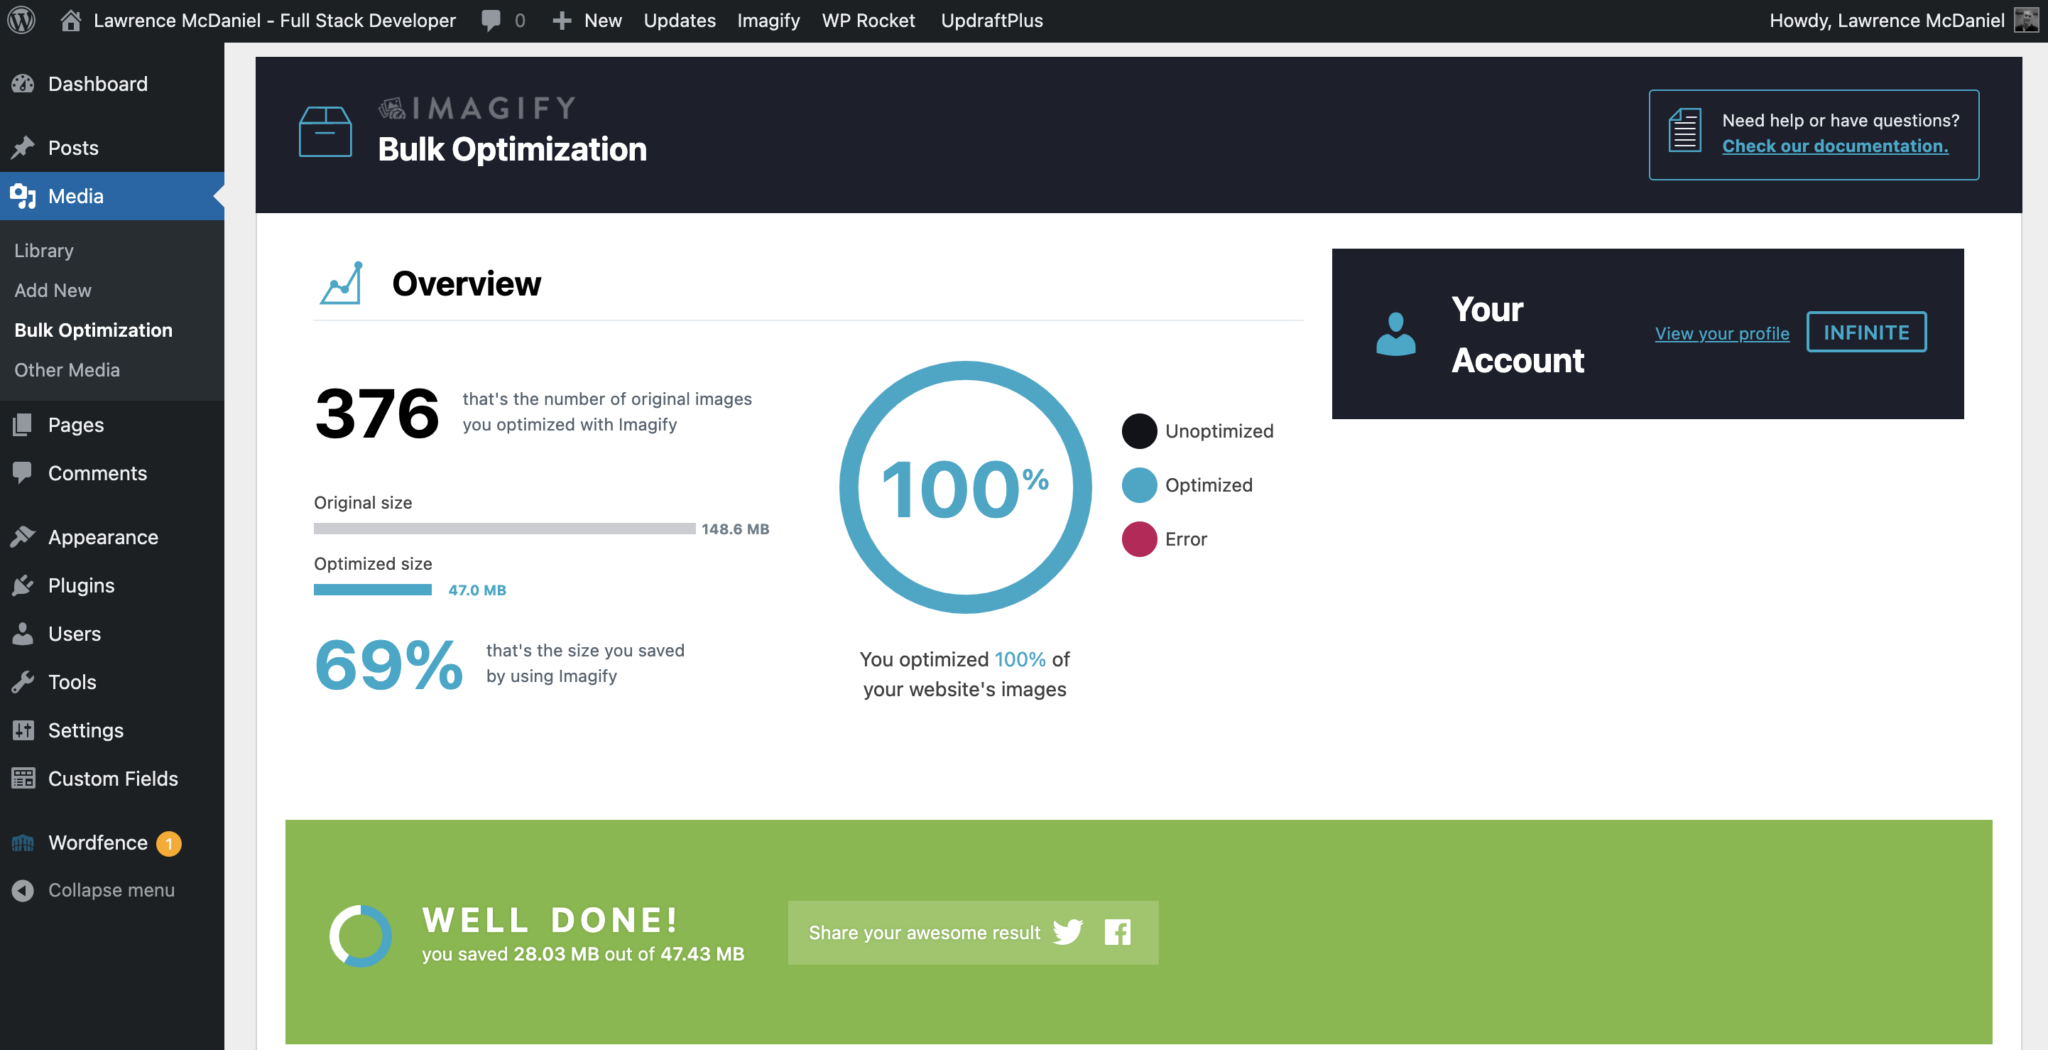
I quickly upload raw original images which are then automatically compressed, cropped, optimized and then transferred to a CDN hosted by AWS, all via a seamless automated work flow pipeline. Each of these tasks individually is hard to do well, but with WordPress and a $100 dollar investment I had all of this working in less than three hours. The end results are quite satisfying: all of the images that appear on my personal web site are perfectly sized and optimized; and with zero effort on my part beyond simply uploading the original images.
All of this is accomplished with two premium plugins: Imagify to compress and optimize the images, and WP Offload Media to relocate optimized images to AWS Cloudfront CDN.

One the driving reasons that I purchased WP Offload Content is because in addition to automatically syncing the contents of my image media library to AWS Cloudfront, it also automatically rewrites URL’s in api responses.

Note that Imagify creates several versions of each image, and WP Offload Media re-writes URLs for each of these. This combination of functionality allows you the luxury of deferring decisions on which image to present in the browser until its actually needed, which in turn enables you to select the smallest/lightest image in real-time based on the user’s window size and their browser’s cache contents at that exact moment.
2. Ease of implementation
There are a half dozen api end points for my personal web site, and each of these are pretty simple. I’ve never found anything as easy to implement as WordPress for simple backend jobs like this, even though I actually work extensively with Django REST Framework in my day job. I built the REST API for my personal web site and went to production in a single work day. This also includes setting up DNS, site security, https certificates, and offsite site data backup.
3. Ease of Use
I only have two use cases for managing site content:
This is important to me because after having invested several weeks developing the ReactJS /Redux site, going forward I want to minimize my time requirements for keeping the site updated with new portfolio entries, technical skills, client logos, LinkedIn recommendations and so on. Additionally, and unlike the site’s front-end, with the REST API I don’t spend any time nor energy updating or maintaining source code.
4. Maintainability
By the same measure, I also want to minimize my time requirements for keeping this site up, running, secure and healthy. This is easily achieved with a 3rd party backup solution (Updraft) along with security tools (Wordfence). Additionally, I minimize the number of WordPress plugins installed on the site, in the interest of keeping the environment as simple as possible. Maintenance of this site takes me around 10 minutes a month.
5. Performance
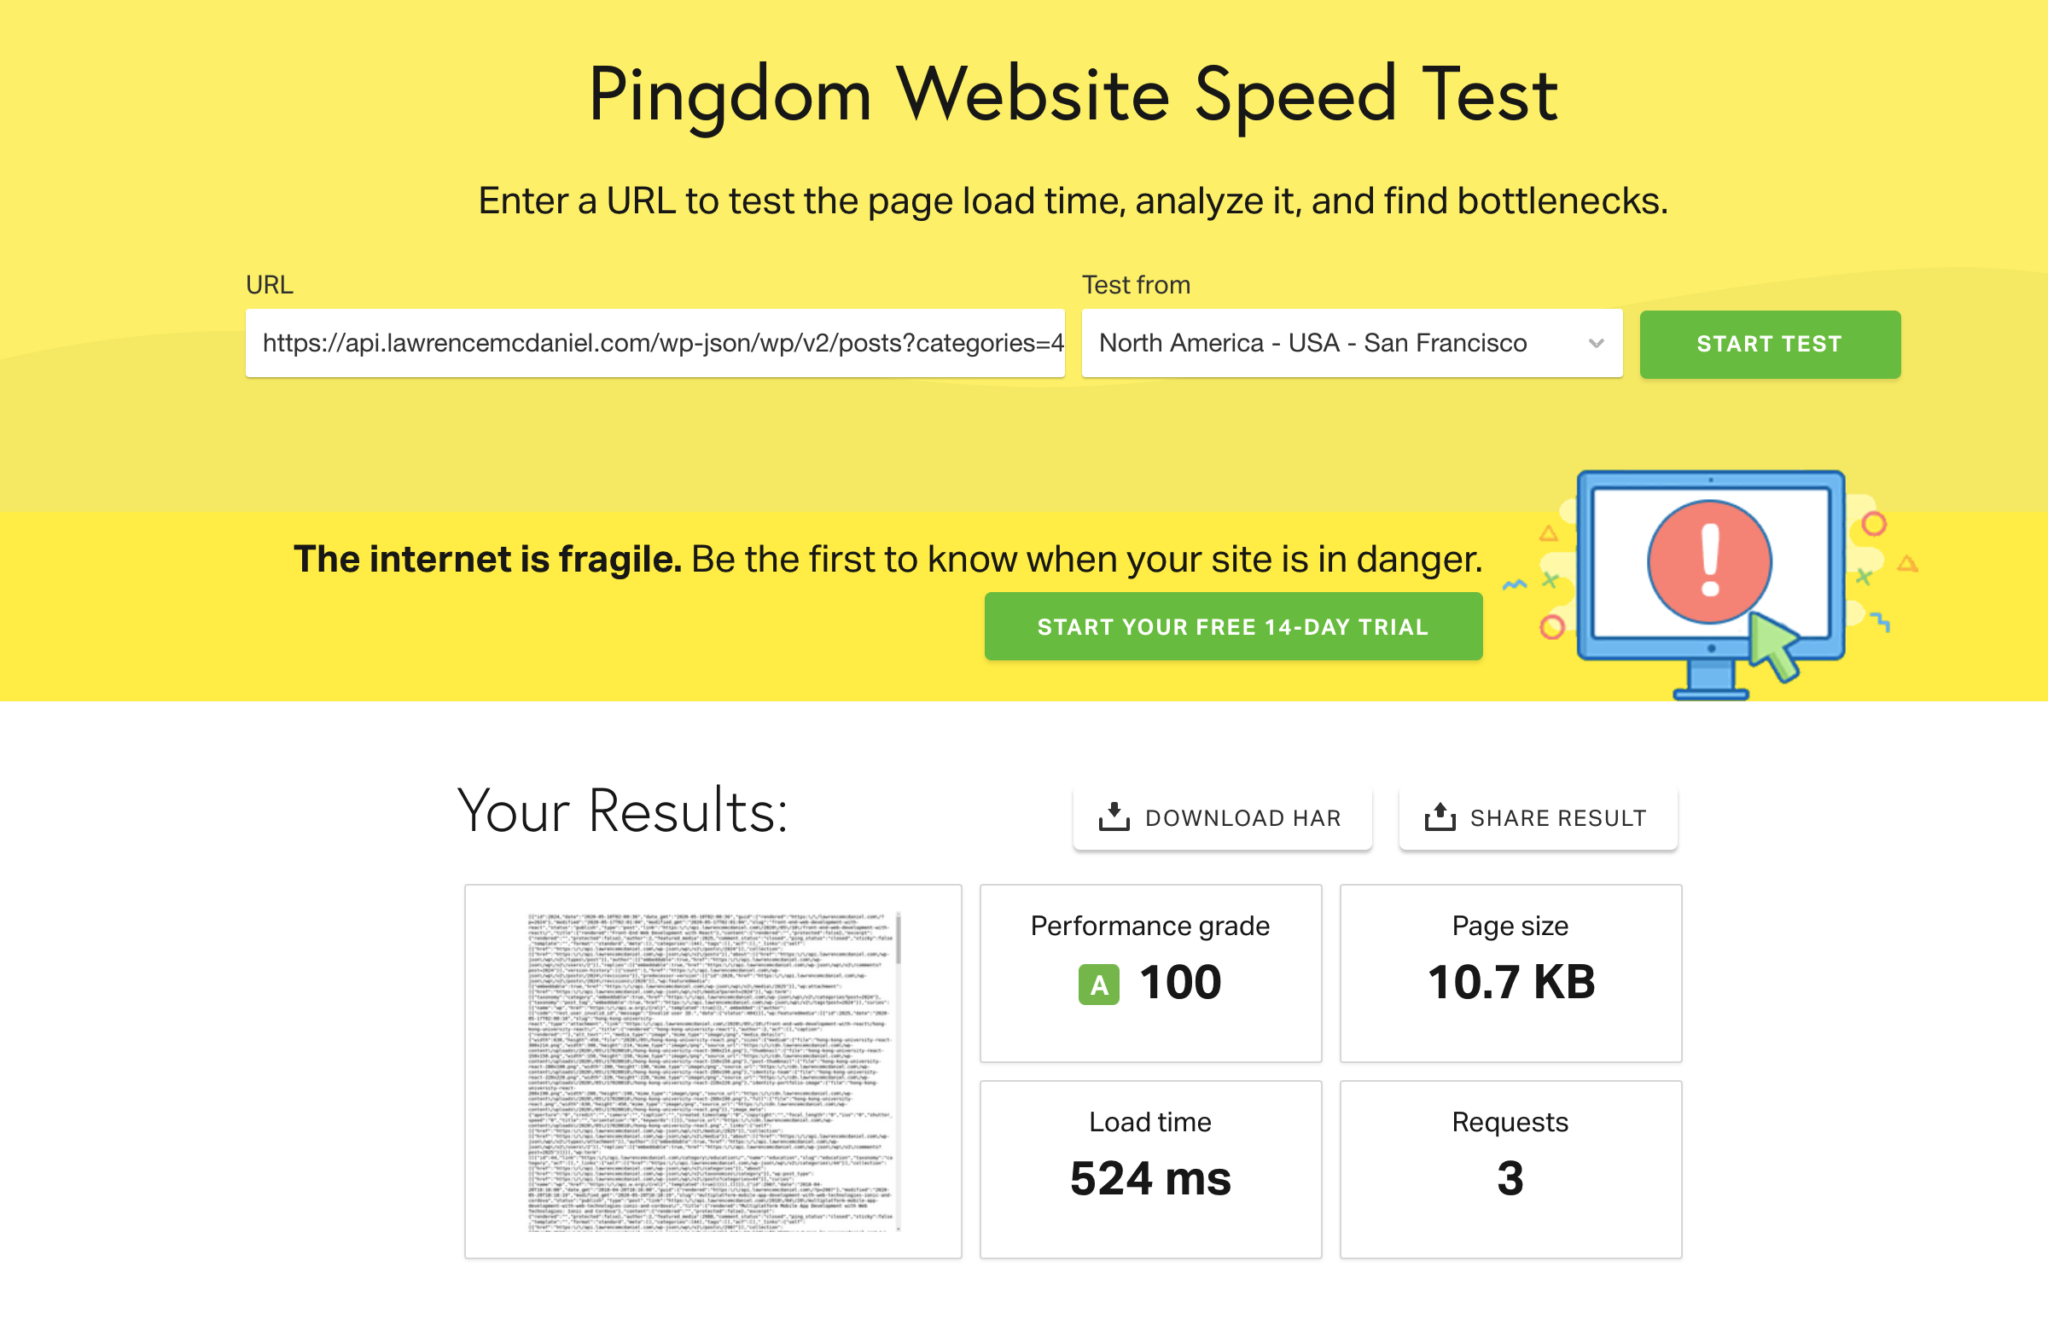
Performance? WordPress? Really???? Well, as a matter of fact yes. It’s VERY difficult to beat the observed performance realized via image optimization, CDN delivery, and api page caching that you easily achieve with this simple combination of WordPress plugins. Additionally in my case, the cache hit ratio for this site is effectively 100% since the content of this api is mostly static. API requests are therefore mostly served in-memory by the site’s caching engine (WP Rocket), achieving response latencies of between 50ms and 100ms per request. But don’t simply take my word for it, you can test any of the end points on this site with a page performance service like Solar Winds’ Pingdom.

6. Operating Cost
I’m sensitive to running costs since this REST API supports my personal web site which obviously is not a revenue-generating venture. This site consumes negligible resources and runs effectively for free, as it is colocated among several other sites running on the same shared infrastructure.
I hope you found this helpful. Please help me improve this article by leaving a comment below. Thank you!


Hello Lawrence,
Thank you for a very useful article.
I am trying to add a couple of RESTful APIs to my existing GoDaddy site. This is mainly a proof-of-concept exercise for a yet-to-be-developed application with a few RESTful APIs.
I am familiar with RESTful Web Services and c/c++/Java/JavaScript/python/perl etc. but not WordPress.
Yet, the out-of-the-box website I have is in fact in WordPress. I modified it somewhat but didn’t actually create it myself.
From your article, it appears to me that I can get my p.o.c exercise up and running on WordPress using one or two plug-ins.
Is that correct?
Can the APIs be Http POST as well as GET?
Thank you,
Yes, they can. In fact they can be: get, post, put, patch, and delete.