Learn how to manage your Open edX configuration from VS Code on your desktop computer, using a Github repository as your archive and deployment platform.

Summary
Maintaining your Open edX configuration files offline, using an integrated development environment like VS Code along with a code repository like Github offers many advantages. First and most importantly, it’s your first step towards maintaining an offline copy of your configuration, which could prove invaluable in the event of a server crash or if you irreparably break your Open edX instance; both of which happen to me occasionally. Additionally, it also positions you for setting up a Continuous Integration loop. And lastly, it’s an important step forward in your devops planning, paving the way for you to begin to think about more sophisticated infrastructure plans like say, an application cluster behind a public-facing load balancer.
Granted, our continuous integration loop is only rudimentary, but it’s a giant leap forward compared to managing everything directly on your server instance.
1. Create a Local Git Repository
Git is a version control technology that was created in the 1980’s by Linus Torvalds while he was working on the first Linux shell. Today, 30 years later, there are several cloud based platforms where you can upload and archive the version history of your projects like for example, your Open edX configuration history. GitHub and Bitbucket are two of the most popular. We’ll use GitHub for this example for no other better reason than I happen to already have an account there. Git is preinstalled on most modern operating systems, including Ubuntu Linux, MacOS and Windows.
There are multiple ways to create a new git repository, though the gist of what is being accomplished is the same: to create a new hidden folder inside your project’s root folder named .git.
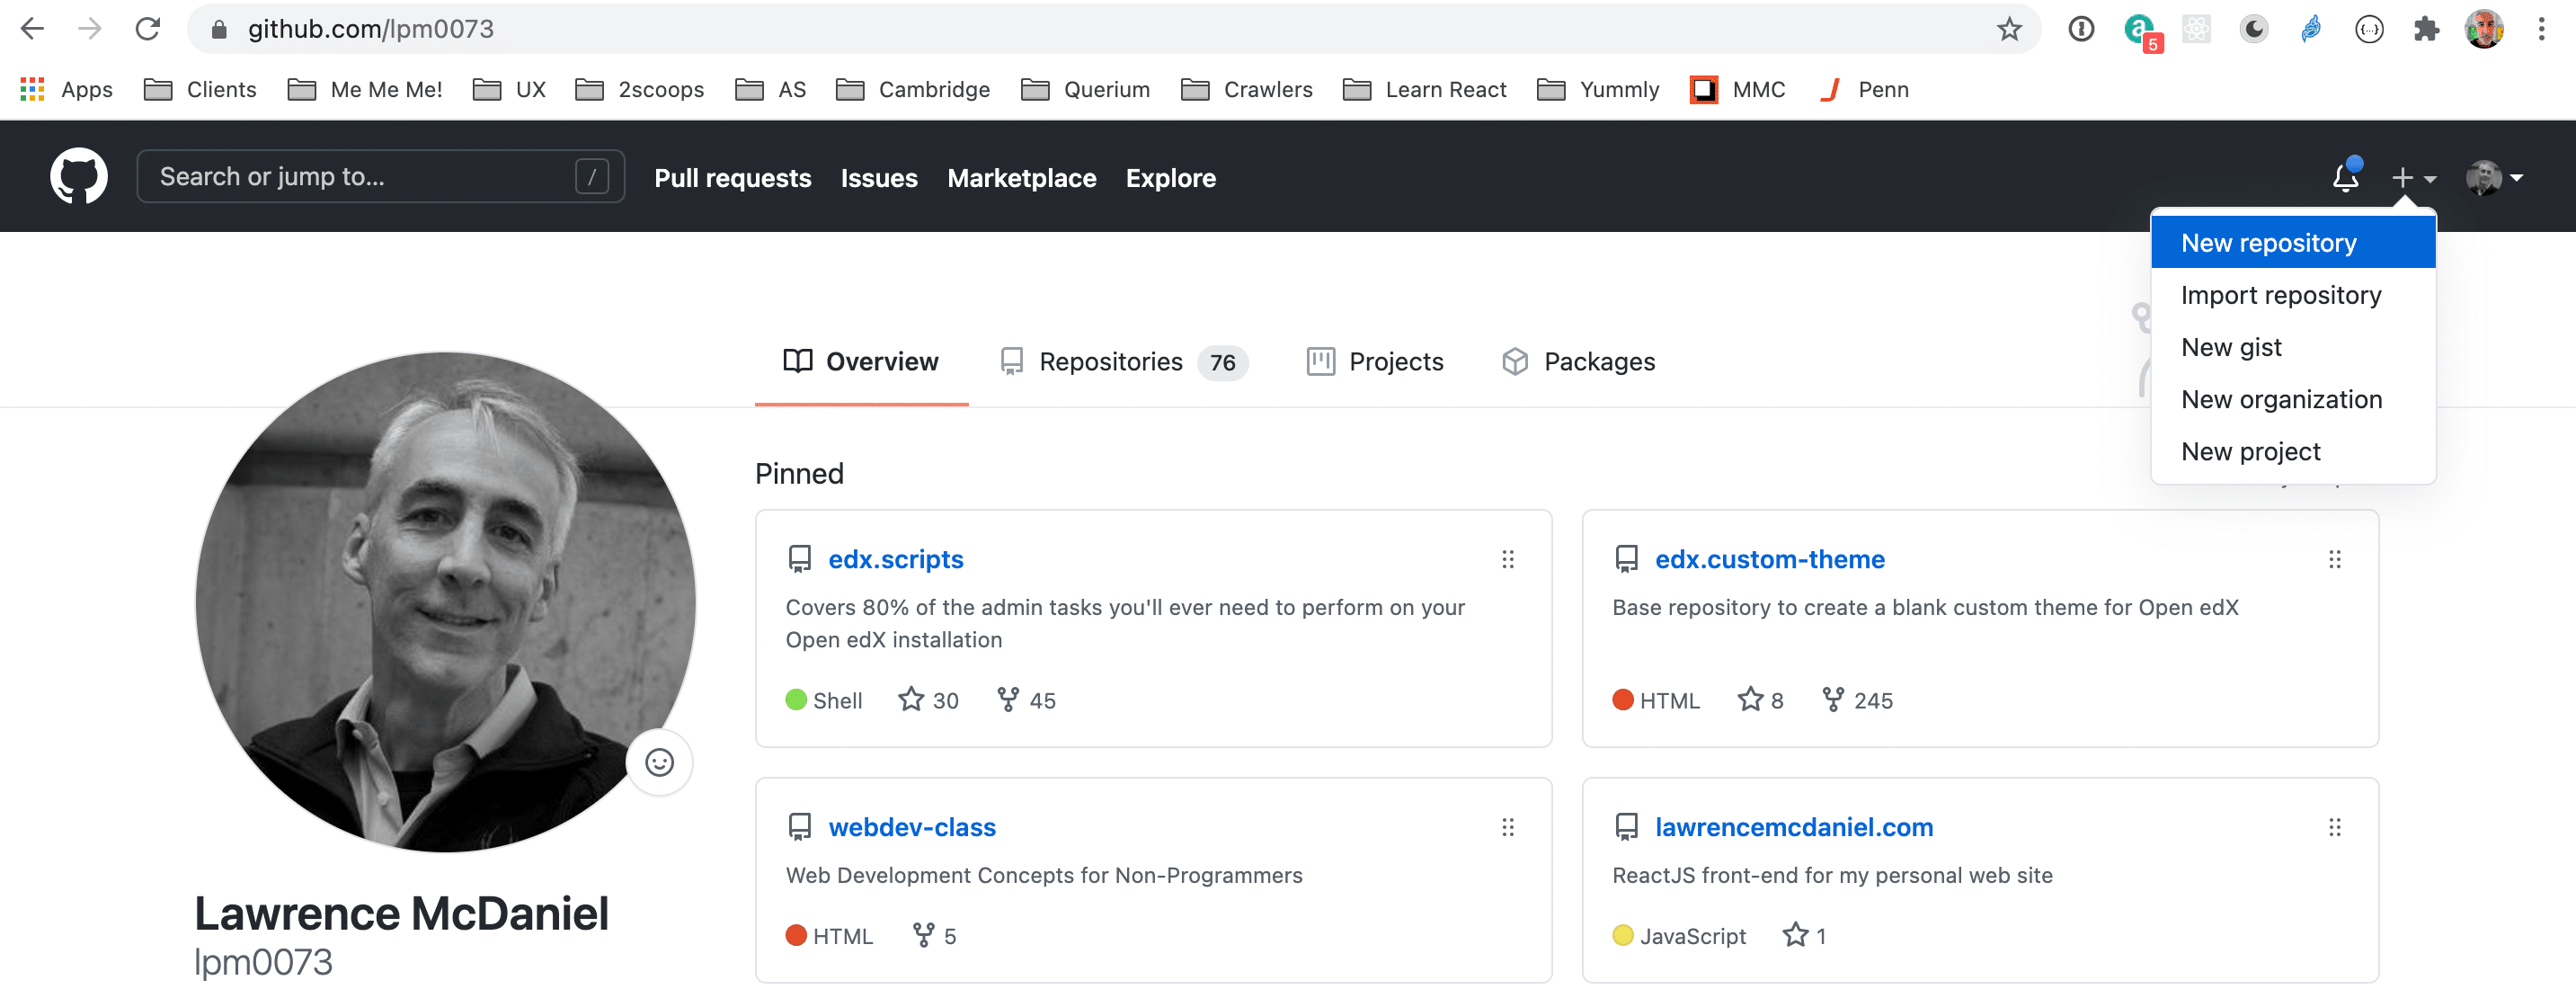
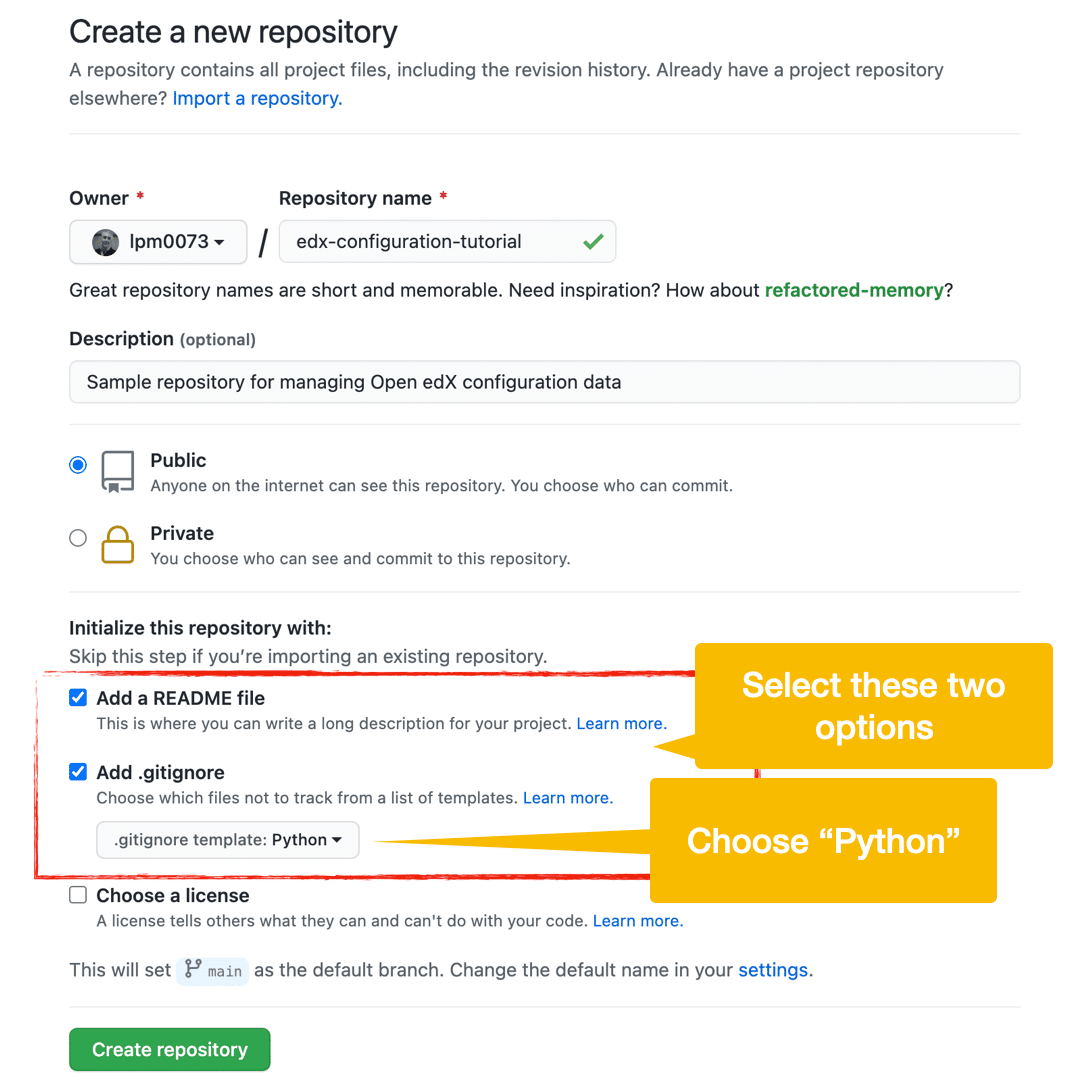
In this case since our objective is to store our configuration data in GitHub, I’m going to create a new repository there, in my existing GitHub account, and then afterwards I’ll clone this repository on my development computers which in my case is a MacBook Air laptop.
leader
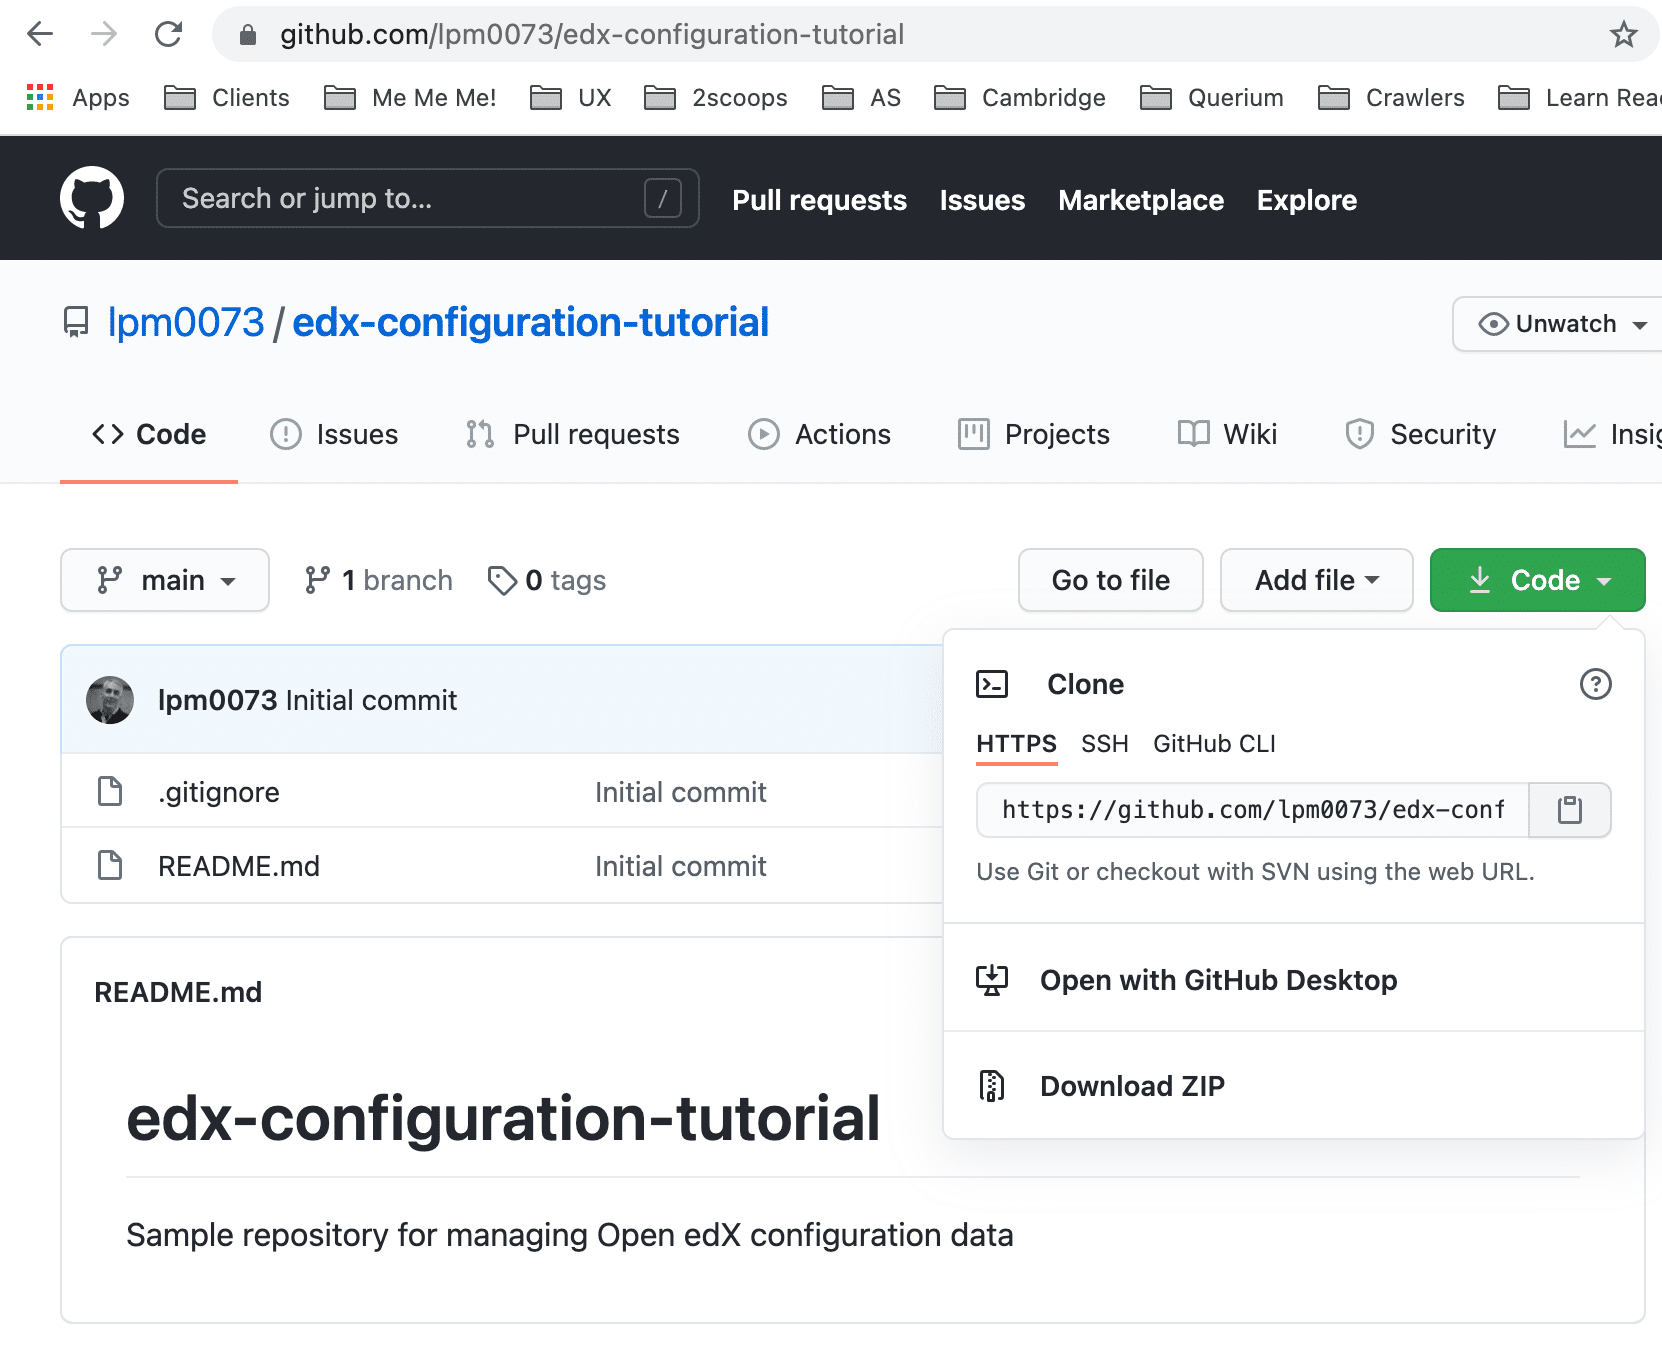
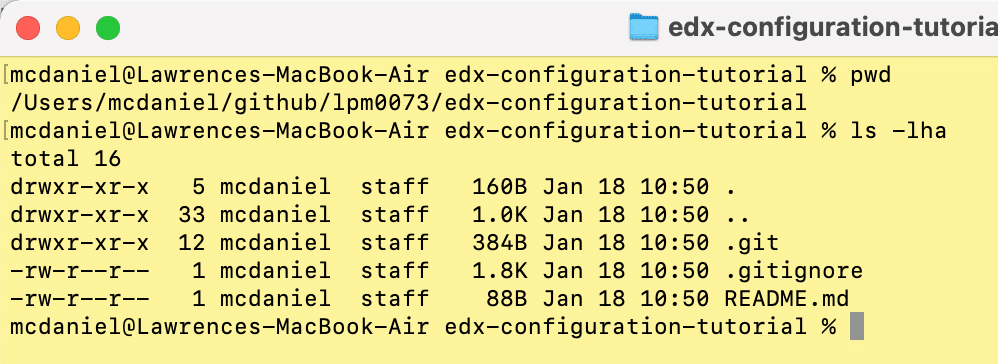
Once you’ve created your new repository, you can “clone” the repository contents to your local computer, in the location of your choice using the following 1-line command from a terminal window, of course, substituting the URL for your repository with that of this example:
git clone https://github.com/lpm0073/edx-configuration-tutorial.git
Solely for the sake of illustration I’ll also demonstrate doing the same thing in reverse. That is, creating a new repository on my laptop and the “pushing” this repository up to my GitHub account:
# Alternative strategy: create a new local repository,
# and then push it upstream to GitHub
echo "# edx-configuration-tutorial" >> README.md
git init
git add README.md
git commit -m "first commit"
git branch -M main
git remote add origin https://github.com/lpm0073/edx-configuration-tutorial.git
git push -u origin main
Note that in this alternative scenario the command “git remote add origin” will automatically create a new repository for us in GitHub.

2. Download Source Files From Ubuntu
a.) Consolidate and Prepare Our Open edx Configuration Files
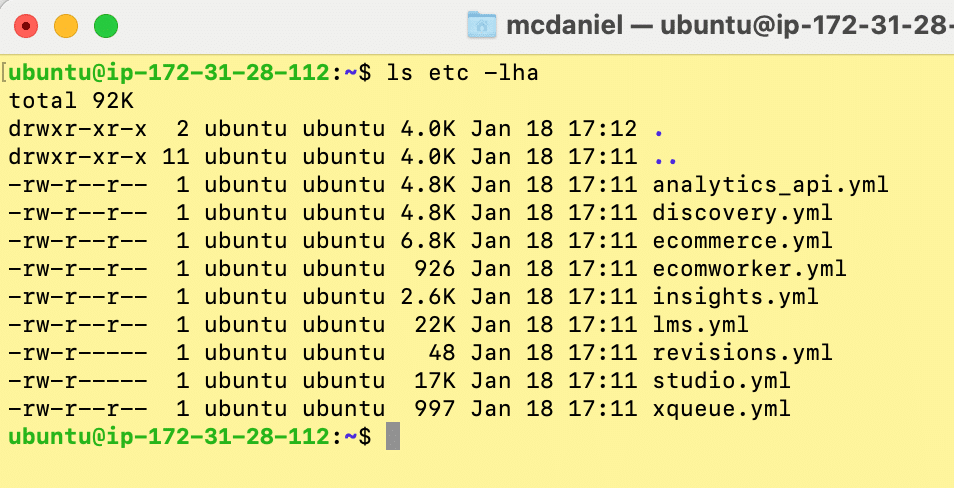
Ok, now that we have a repository, let’s add our Open edX configuration files. First, we need to consolidate the files that we want to download, plus, we need to modify the permissions on these files so that our “ubuntu” user is able to read them. From your Open edX Ubuntu command line, create a copy of the edx configuration data in your home folder.
# move to the Ubuntu home folder
cd

# copy the folder /edx/etc to the current directory (the home directory)
sudo cp -R /edx/etc/ ./

# recursively change the file ownership to that of the ubuntu user
sudo chown -R ubuntu etc
sudo chgrp -R ubuntu etc

# remove configuration data that we do not need/want in our local repository
sudo rm -r etc/elasticsearch
sudo rm -r etc/playbooks
sudo rm -r etc/ssl
b.) FTP Our Source Files From Ubuntu to our Local Development Environment
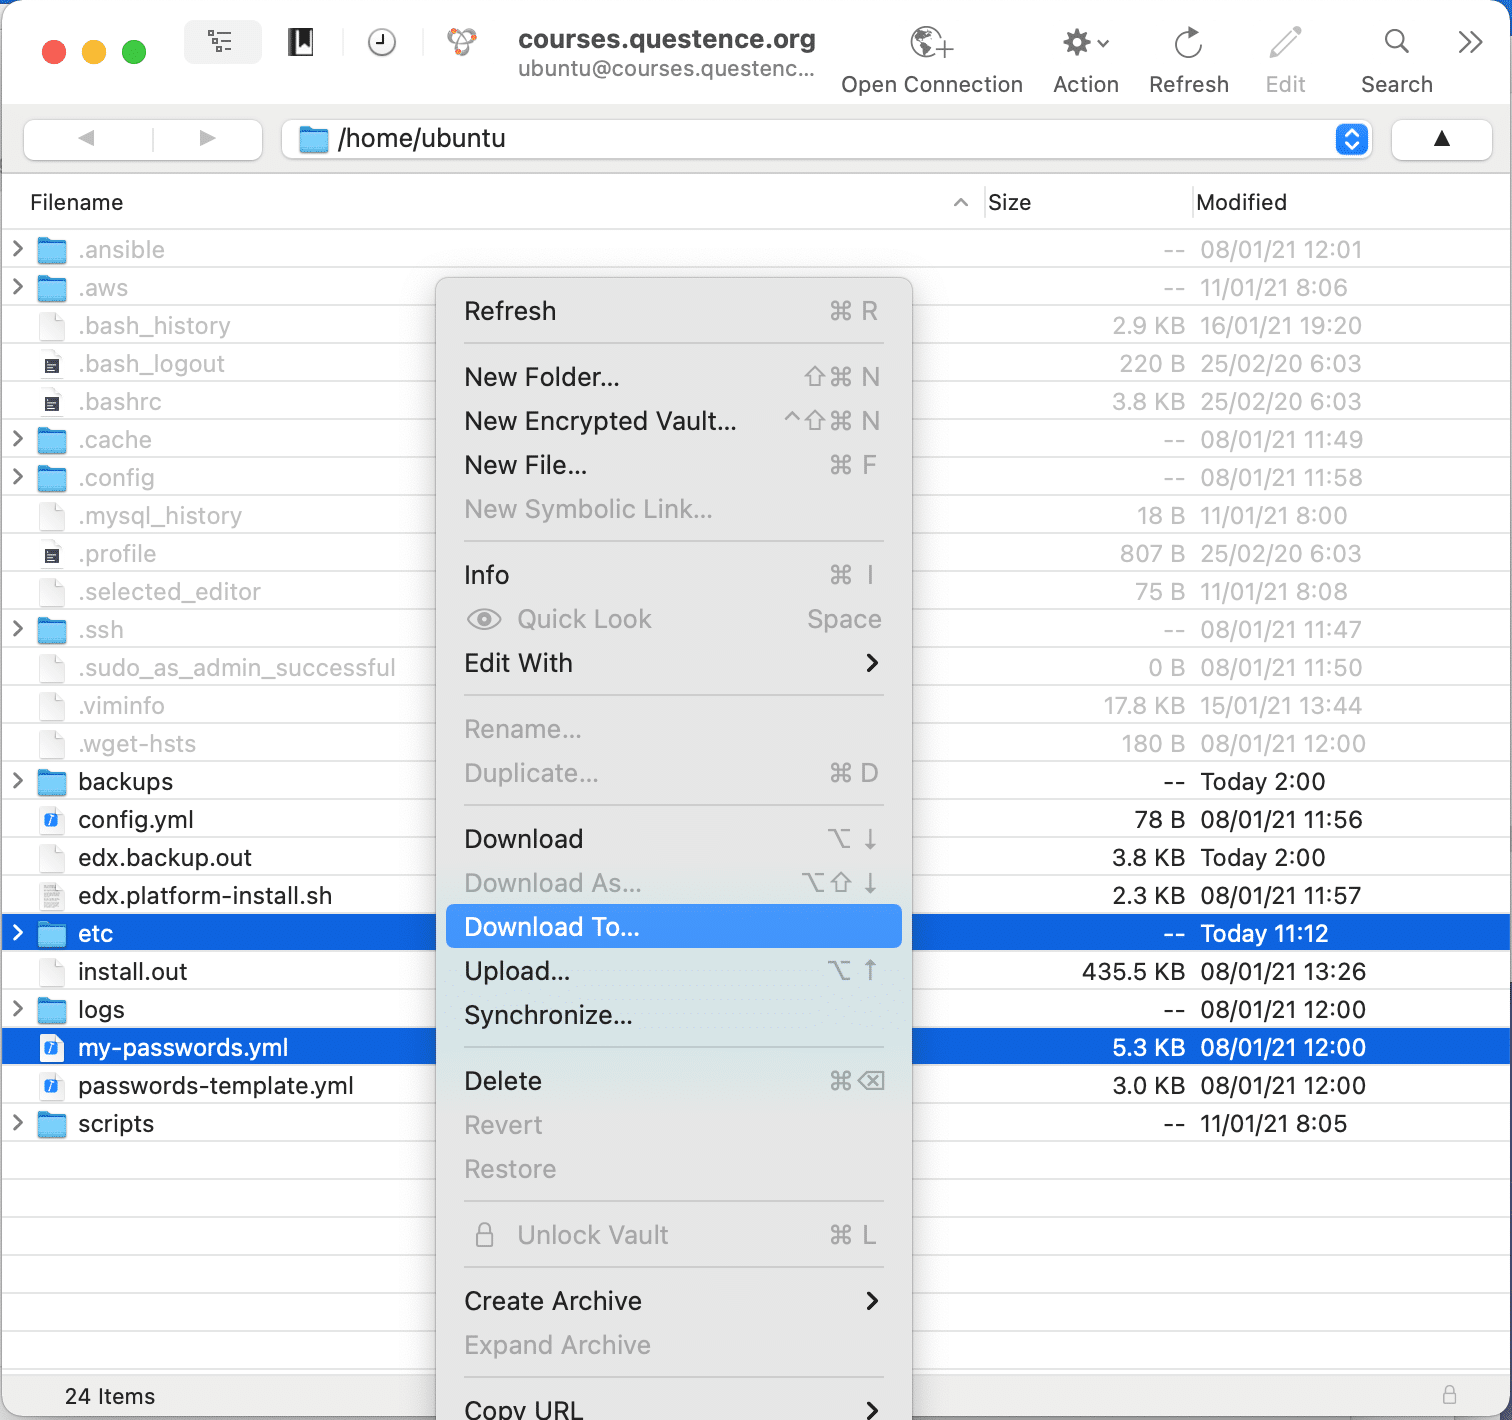
Our Open edX configuration files are saved on an AWS EC2 Ubuntu instance located somewhere in the cloud, and we somehow need to get a copy of these files from there to our local file system. FTP (File Transfer Protocol) is the tool for this job, and my preferred way to use FTP is via a free desktop application named Cyberduck. This easy-to-use application provides a UI that similar to Window Explorer or MacOS Finder. Another handy feature of Cyberduck is that you can store the connection string to your server so that simply double-clicking an icon gets you easy access to your Open edX Ubuntu files.
3. Commit and Push to Github
a.) Commit files to your local repository
Committing is a local operation. That is, we will establish a new version of our locally-stored git repository by “committing” our changes. This will create a permanent history of these additions and/or file changes to the repository. all of the version history is stored locally inside of the “.git” hidden folder.
# select (aka "add") the files that we want to commit
# in this case the "." means that we're adding all files and folders.
git add .

# commit the files that we selected (aka "added").
# "-m" is a required command-line parameter meaning "commit message"
git commit -m "Initialize repository with current configuration"
The screen shot to the right shows the contents of the local repository in VS Code immediately prior to the “git add .” and “git commit” commands above being issued on the command line. The filenames in the left window pane are displayed in green text, indicating that these files are new to the repository.
Important: note that i have edited the file .gitignore, currently displayed in the right window pane. You can see that I have inserted three new rows at the top of the file. “.gitignore” is used to direct git (and GitHub) to ignore certain files — that is, to not include these files in any “add”, “commit” nor “push” operations.
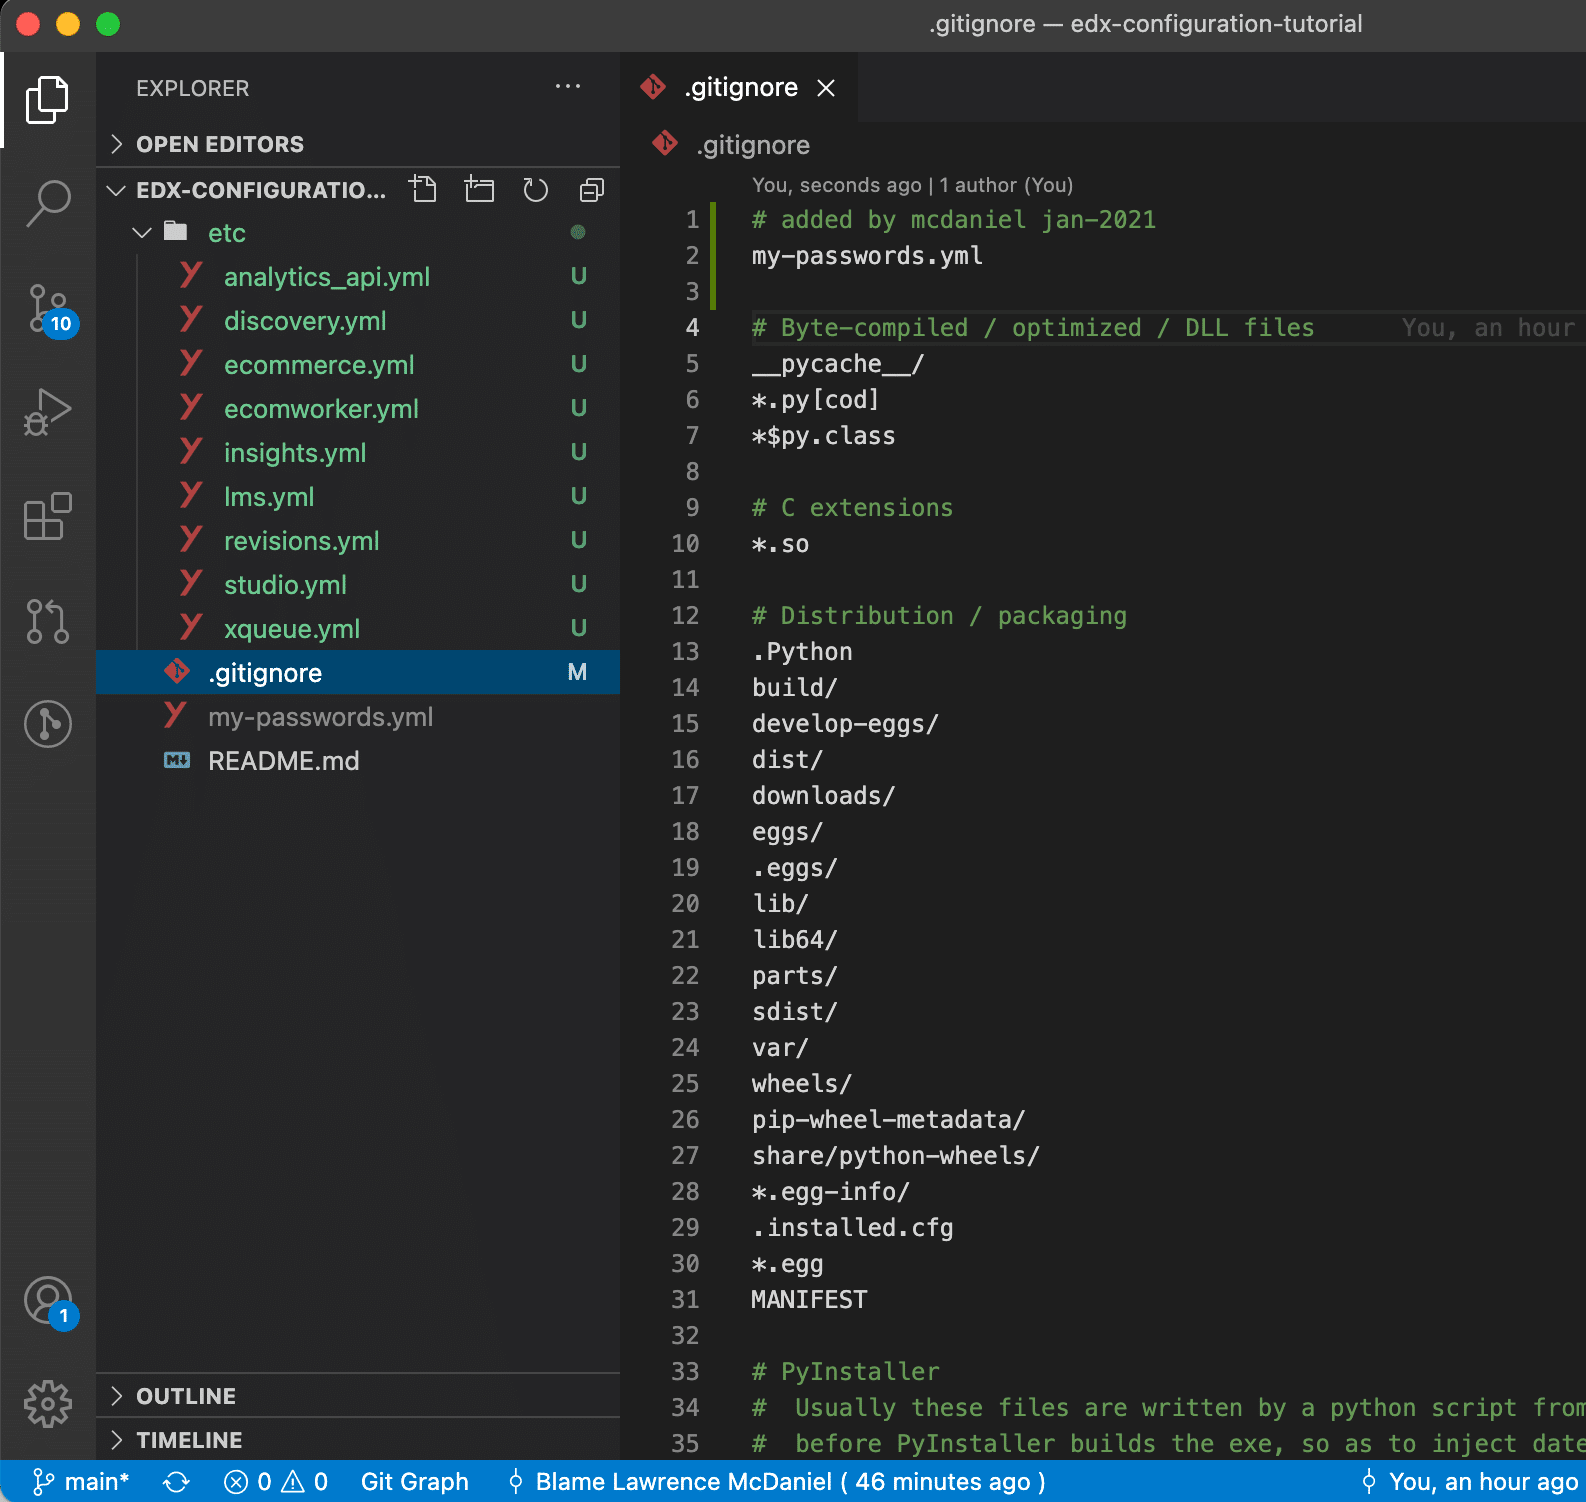
My file modification will cause our git repository to ignore the file my-passwords.yml which contains sensitive data that we do not want uploaded to GitHub under any circumstances.
b.) Push your committed changes to GitHub
Pushing our changes means that we will replicate our operations to Github. Before we do this however we need to talk more about the implications of this. GitHub is a public-facing web platform and all the code repositories in GitHub are also publicly available to anyone, including people who do not even have a GitHub account. Thus before pushing your commit to GitHub it is a prudent idea to pause momentarily to think about the contents of what will be pushed.
The file my-passwords.yml is an immediate concern, but keep in mind that there are other files that you might add to this repository, now and in the future, that might contain sensitive data that should not be publicly viewable. For example, the files lms.yml and cms.yml include parameters for an AWS key/secret pair to enable use of an AWS S3 bucket. If you have provided values for these two parameters then you should definitely not include either file in GitHub. See my article, “Enemy At The Gates” about my first-hand experience a few years ago when I made this terrible rookie mistake.
With that warning out of the way we can get on to the business of pushing our commit to GitHub.
# to see our current commit/push status
git status

# to push our commits to GitHub
git push
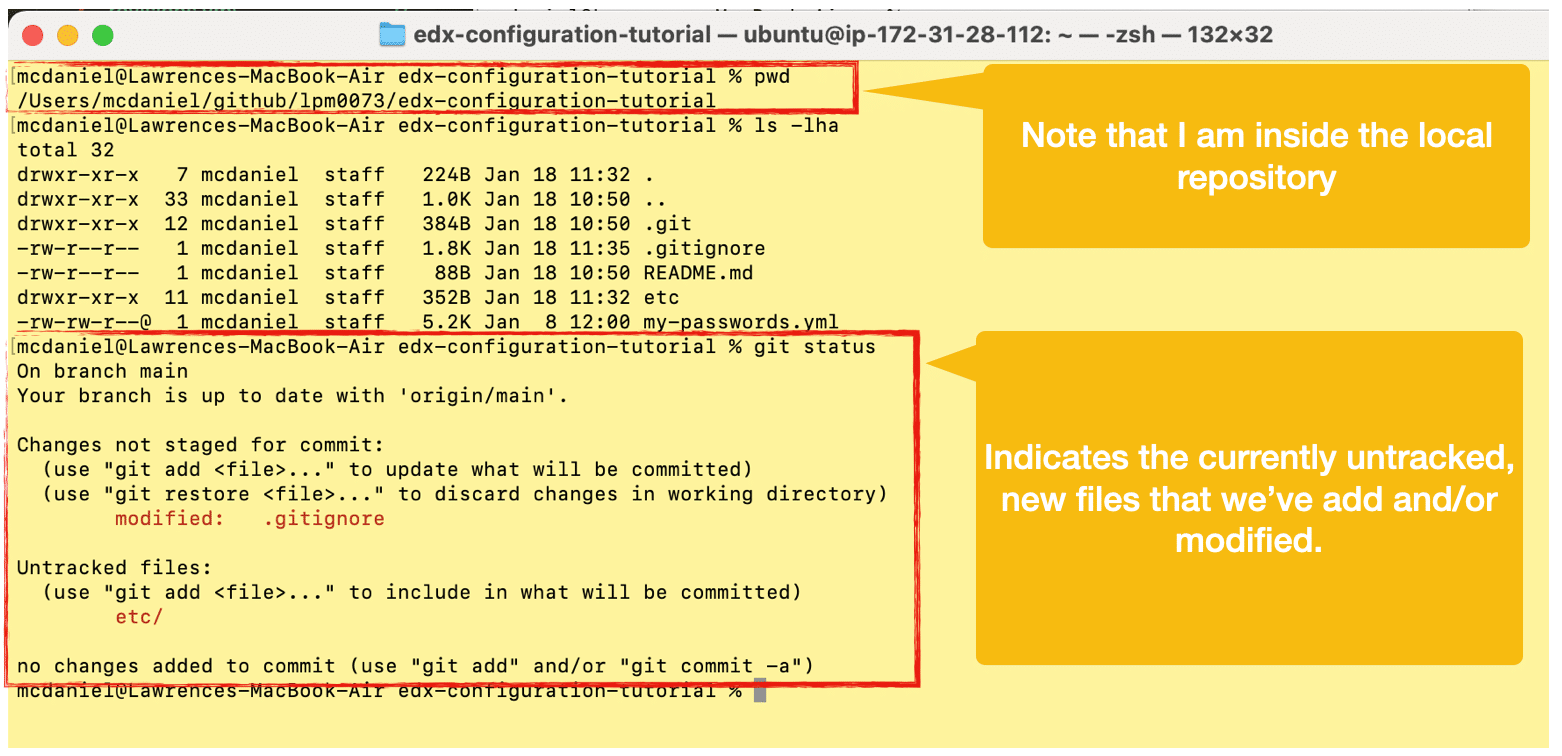
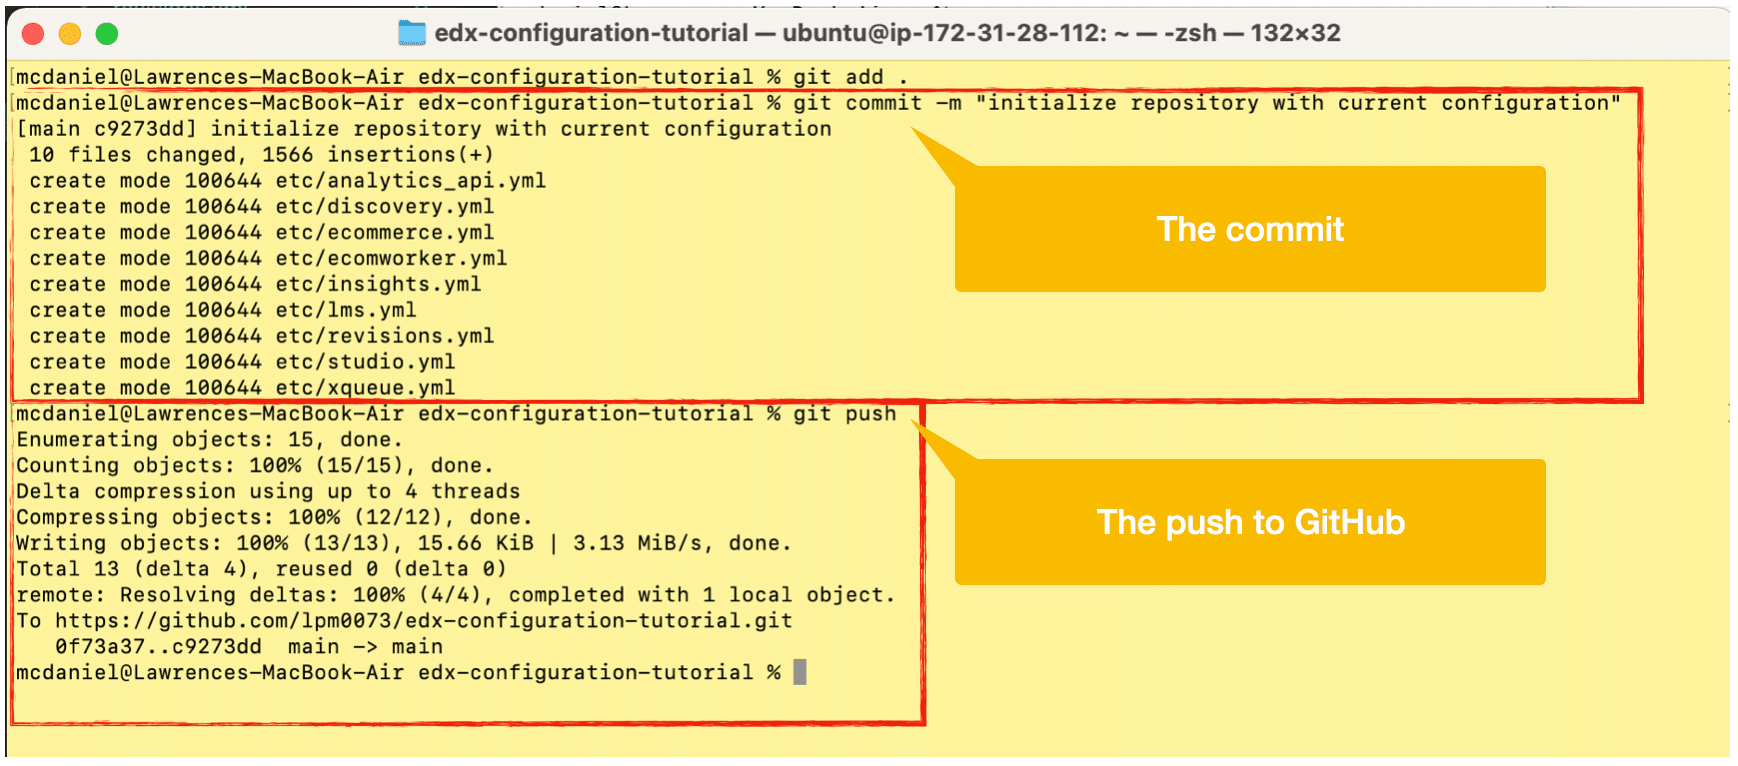
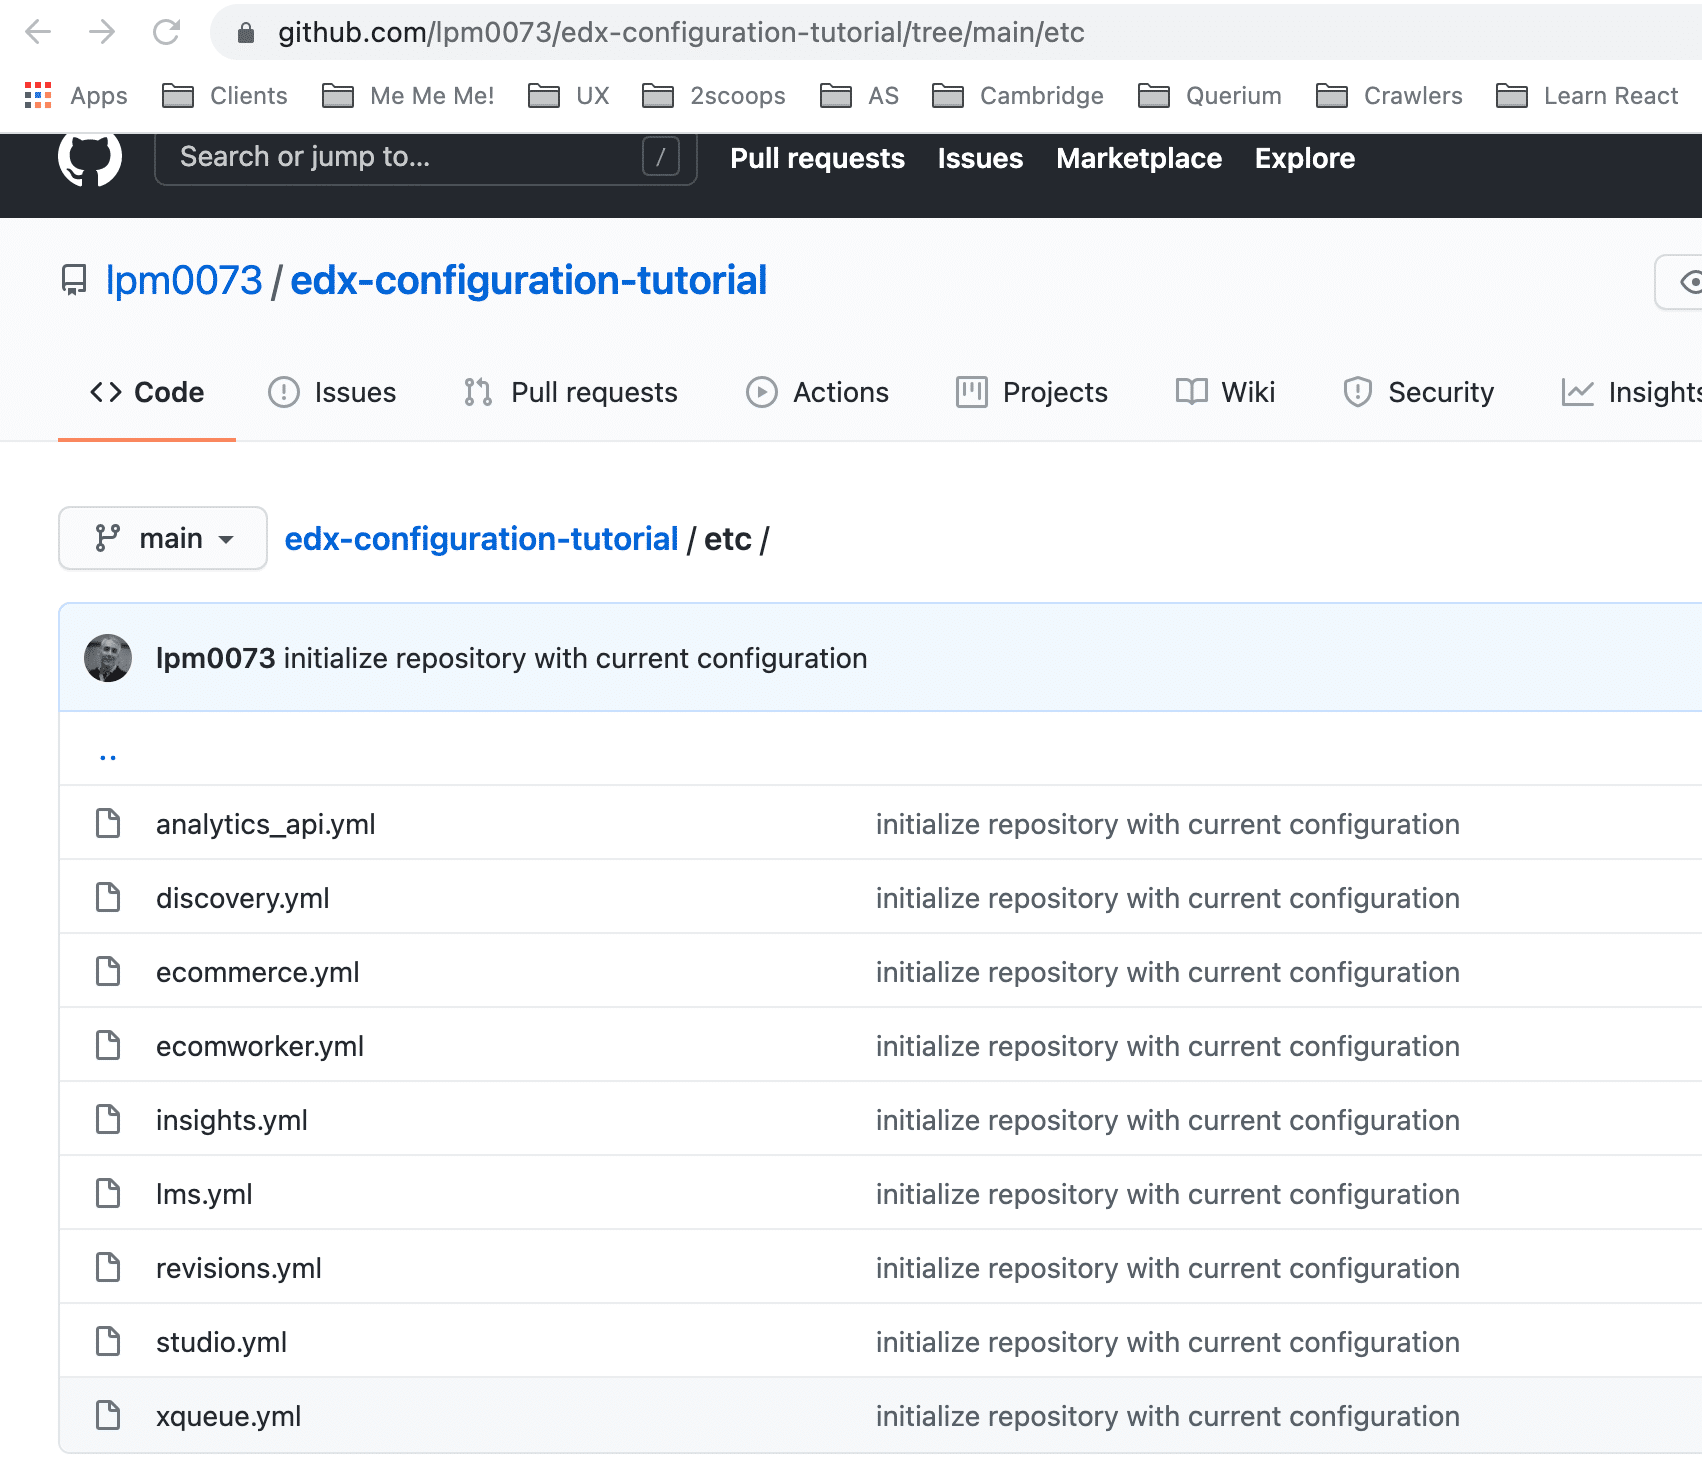
Hopefully you’ll see, “Enumerating objects: 15, done.”, and if so then congratulations, you have succeeded with the most important step in this tutorial!
4. Create an Installation Script
We’ll use a simple bash script to for deployment. This script will clone the repository, move configuration files into position, set file permissions, and then restart the Open edX applications. Following are the Linux commands to create the executable file in the ubuntu home folder:
touch edx.install-configuration.sh
sudo chmod 755 edx.install-configuration.sh

# edit the file in vim, and copy/paste the script below into the file.
vim edx.install-configuration.sh
# type: :wq to save and exit vim.
[bash]#———————————————————
# written by: lawrence mcdaniel
# https://lawrencemcdaniel.com
# https://blog.lawrencemcdaniel.com
#
# date: jan-2021
#
# usage: install Open edX configuration files
#
#———————————————————
# clone the repository into a staging area in the home folder
git clone https://github.com/lpm0073/edx-configuration-tutorial.git /home/ubuntu/edx-config
# copy files into position<br />
sudo mv /home/ubuntu/edx-config/etc/*.yml /edx/etc/
# remove the staging folder
sudo rm -r /home/ubuntu/edx-config
# modify file ownership and group to match Open edX production settings.
sudo chown root /edx/etc/*.yml
sudo chgrp root /edx/etc/*.yml
sudo chmod 644 /edx/etc/*.yml[/bash]


Leave A Comment