Get your Letsencrypt SSL certificate working on your AWS EC2 Amazon Linux2 Apache instance in just a few minutes with this detailed step-by-step how-to guide.

Summary
This how-to article is for Amazon Linux 2, released December 13, 2017. The instructions that follow will only work with amazon’s latest Linux machine images. If you’ve tried these instructions and received errors then please refer to these original instructions for Amazon Linux I.
Adding TLS/SSL encryption over HTTPS is free and easy with Letsencrypt. The Certbot web site provides detailed instructions for the most popular combinations of Linux and Web Server, but oddly, they do not provide exact instructions for the Amazon Linux AMI, and as it turns out, there are a couple of details that took me several hours to trouble shoot initially. Hopefully this article will help you get https working on your Amazon Linux EC2 quickly an easily.
Assumptions
- Your EC2 instance is built from the Amazon Linux2 AMI
- You have SSH access to your EC2 instance and you’re comfortable working from the command line
- You’re attempting to install on a single AWS EC2 instance based on AWS’ Tutorial: Install a LAMP Web Server on Amazon Linux 2
- Finally, note that for this article I added a WordPress site to my server, using AWS’ guidelines: Hosting a WordPress Blog with Amazon Linux
Note that this installation strategy only touches the Apache web server layer. If you’re interested you can read more in the Official Apache Documentation for SSL to see first-hand what the certbot-auto installation program is doing. A LAMP-based web application like WordPress is illustrative of the effectiveness of this SSL certificate installation strategy in that we (usually) won’t need to do much at the application layer in order to get web traffic flowing over HTTPS.
Implementation
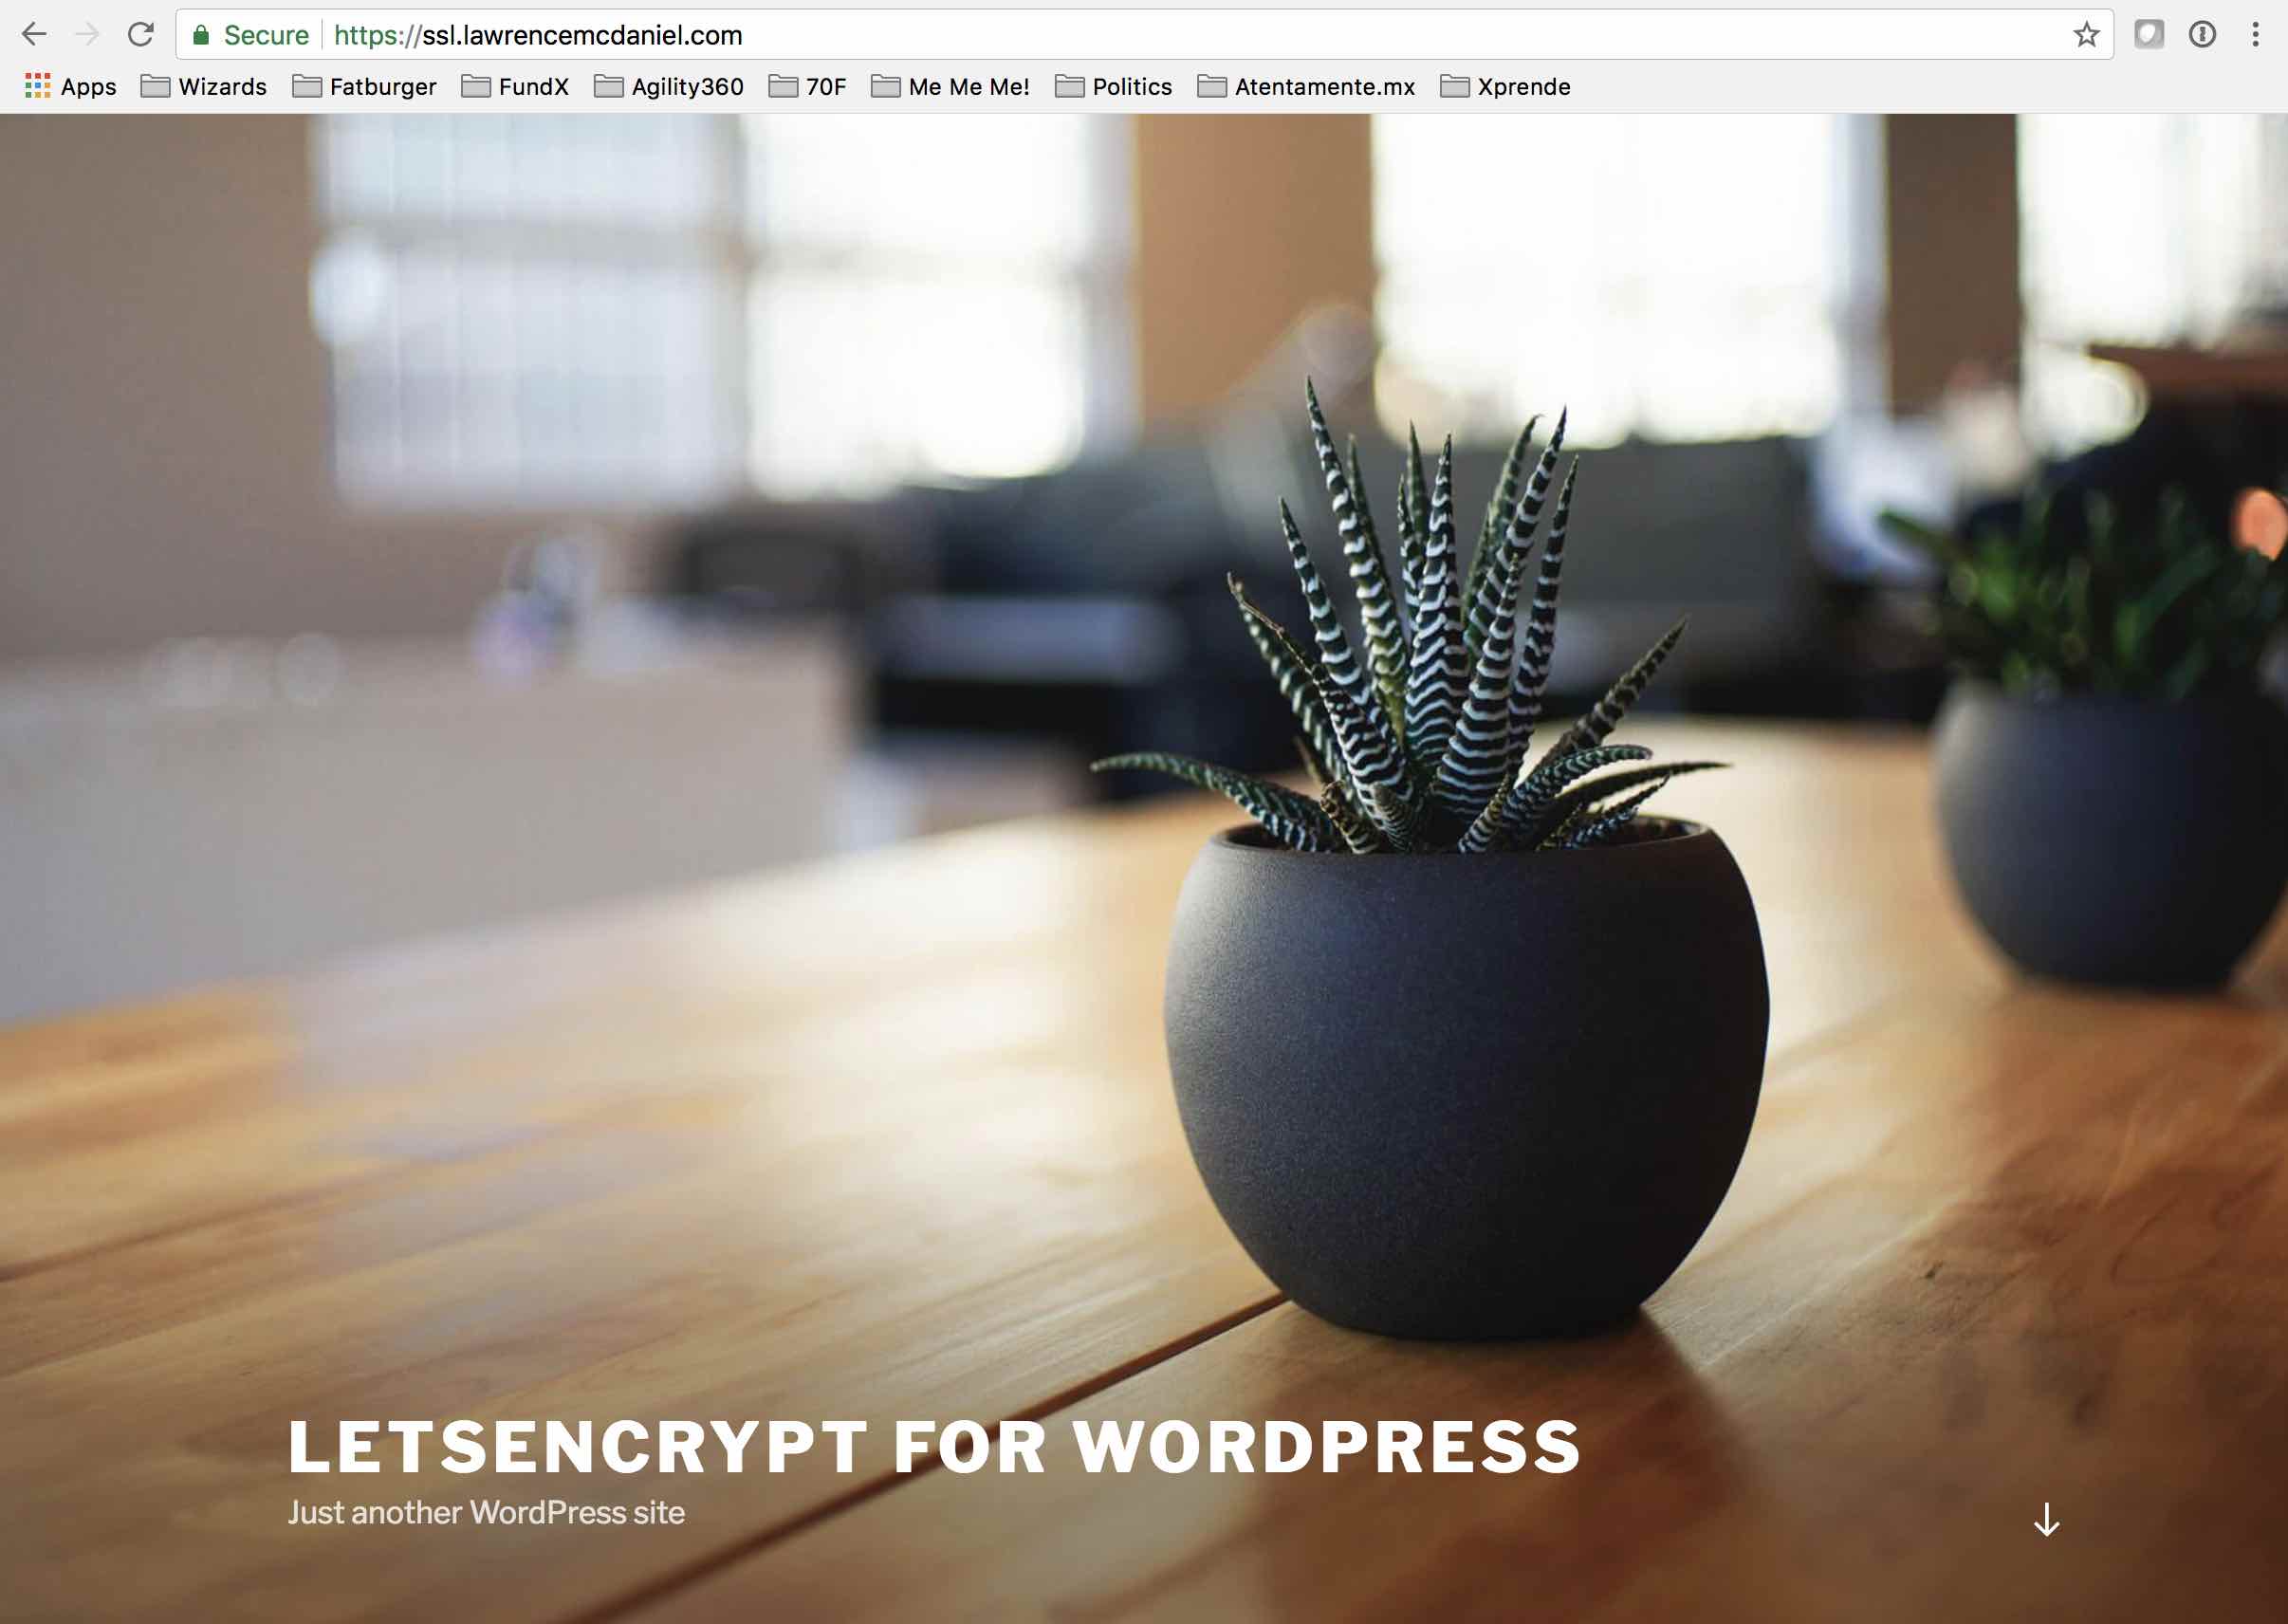
In this how-to article we’re going to install a SSL certificate and reroute all traffic to HTTPS for a fictitious site named ssl.lawrencemcdaniel.com that currently looks like the following

Summarizing the installation and configuration process, we’re going to install a utility app named certbot-auto that we will execute from the command line of your EC2 instance in order to request a new SSL certificate for our domain. We’ll use cdertbot-auto to request the certificate, and then afterwards, to make adjustments to our Apache web server configuration so that all inbound HTTP requests are automatically forwarded to HTTPS. Ok, let’s get started!
1. Install Certbot
certbot is a free open-source utlitity app that is sponsored by the letsencrypt.org consortium. Detailed installation instructions from Amazon are available here. Certbot is not currently available thru yum repositories, we’ll therefore download the repository manually using wget as follows:
#change to our home directory
cd

# Download and install the "Extra Packages for Enterprise Linux (EPEL)"
wget -O epel.rpm –nv https://dl.fedoraproject.org/pub/epel/epel-release-latest-7.noarch.rpm
sudo yum install -y ./epel.rpm

# Install certbot for Apache (part of EPEL)
sudo yum install python2-certbot-apache.noarch

# Create a dummy ssl certificate. This will not become part of your ssl strategy.
# You only need to install it because of default settings in Apache ssl configuration
sudo /etc/pki/tls/certs/make-dummy-cert localhost.crt
sudo service httpd restart
2. Execute certbot
Now we’re ready to execute certbot to request our SSL certificate.
# Launch the certbot installer with the following parameters:
#     -i apache                     Use the Apache installer.
#     -a manual                     Authenticate domain ownership manually.
#     --preferred-challenges dns    Use DNS TXT records for authentication challenge.
#     -d lamp.example.com           Specify the domain for the SSL/TLS certificate.
sudo certbot -i apache -a manual --preferred-challenges dns -d ssl.lawrencemcdaniel.com
Executing certbot is a multi-step Q&A process. You’ll be asked around six questions. Refer to the following screen shots for my responses:

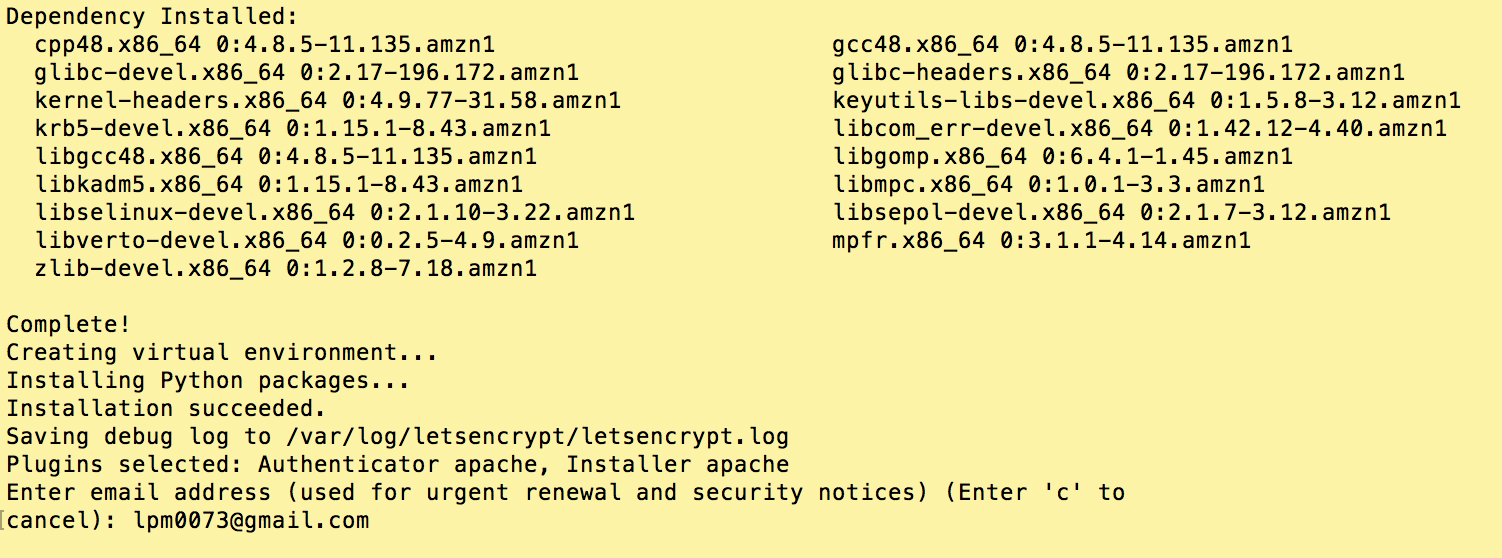
Certbot-auto registers an email address where they’ll send renewal reminders and alerts.

These last two screens — to the right, and below — contains the important questions. Certbot-auto compiles a list of the virtual server sites that it finds in your Apache configuration and present these are an enumerated list. You can select more than one site by separating the numbers with commas.

3. Enable HTTP Redirection
Answer ‘Yes’ to this question so that certbot-auto automatically reconfigures your Apache server so that HTTP traffic automatically redirects to HTTPS.

3. Enable HTTP Redirection
Answer ‘Yes’ to this question so that certbot-auto automatically reconfigures your Apache server so that HTTP traffic automatically redirects to HTTPS.

3. Enable HTTP Redirection
Answer ‘Yes’ to this question so that certbot-auto automatically reconfigures your Apache server so that HTTP traffic automatically redirects to HTTPS.

3. Enable HTTP Redirection
Answer ‘Yes’ to this question so that certbot-auto automatically reconfigures your Apache server so that HTTP traffic automatically redirects to HTTPS.

3. Enable HTTP Redirection
Answer ‘Yes’ to this question so that certbot-auto automatically reconfigures your Apache server so that HTTP traffic automatically redirects to HTTPS.

3. Enable HTTP Redirection
Answer ‘Yes’ to this question so that certbot-auto automatically reconfigures your Apache server so that HTTP traffic automatically redirects to HTTPS.

3. Enable HTTP Redirection
Answer ‘Yes’ to this question so that certbot-auto automatically reconfigures your Apache server so that HTTP traffic automatically redirects to HTTPS.

And voilà! We’re running our WordPress site over HTTPS.


How to renew certbot Certificates automatically after few days?
Hello, I found the following explanation from …
https://docs.aws.amazon.com/AWSEC2/latest/UserGuide/SSL-on-amazon-linux-2.html
… to be very helpful.
To automate Certbot
Open the /etc/crontab file in a text editor, such as vim or nano, using sudo. Alternatively, use sudo crontab -e.
Add a line similar to the following and save the file.
39 1,13 * * * root certbot renew –no-self-upgrade
Here is an explanation of each component:
39 1,13 * * *
Schedules a command to be run at 01:39 and 13:39 every day. The selected values are arbitrary, but the Certbot developers suggest running the command at least twice daily. This guarantees that any certificate found to be compromised is promptly revoked and replaced.
root
The command runs with root permissions.
certbot renew –no-self-upgrade
The command to be run. The renew subcommand causes Certbot to check any previously obtained certificates and to renew those that are approaching expiration. The –no-self-upgrade flag prevents Certbot from upgrading itself without your intervention.
Restart the cron daemon.
[ec2-user ~]$ sudo systemctl restart crond
Thanks for the article – but section 3 repeats a few times and no section 4.